
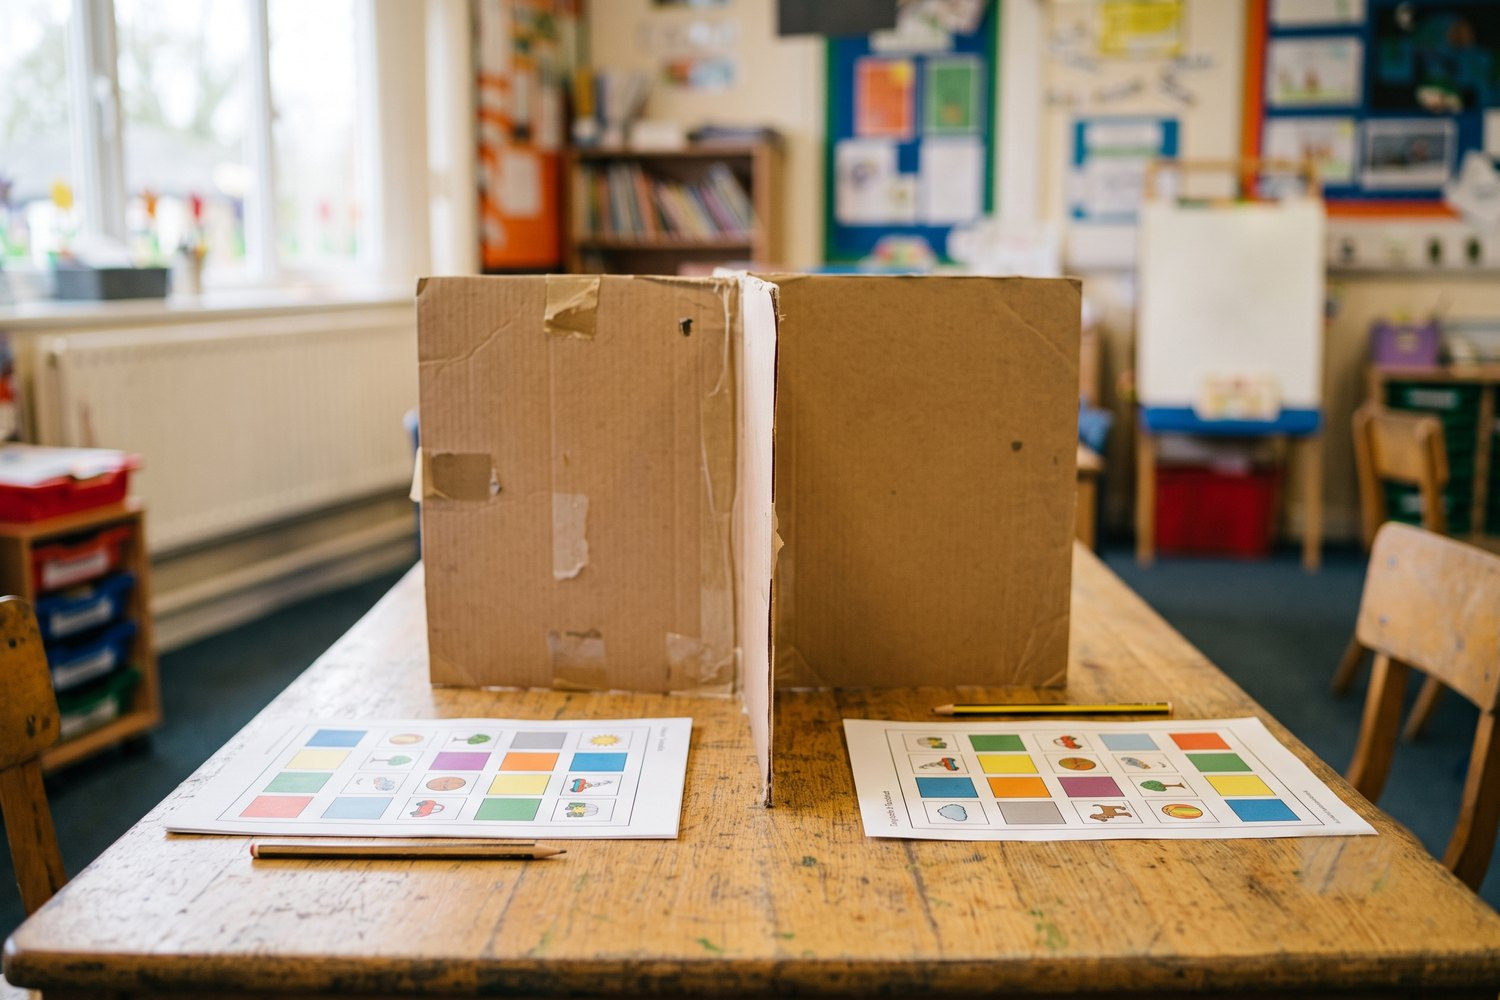
How to run one
Ten minutes, two copies of a picture and something to stand between them. The steps below are the whole method; everything else is a variation on it.
- Sit learners in pairs facing one another.
- Place a barrier between them. A book, a folder, a piece of card — anything works!
- Give each learner a game board, of whichever game you’re playing.
- Model the language yourself. If you’re playing Squarez, start by doing it yourself. Tell the learners to “Put the ball on the red square”, and check they understand.
- Then, let one of the learners “be the teacher”: let them tell you and their friend what to do.
- If needed, write a scaffold on a whiteboard: “Put the ___ on the ___ square”. For added challenge, remove parts of this scaffold as the game goes on.
- Step back, and let the learners play.
…and the great news? Once you’ve done this once, in future barrier games your learners will already know how to play and you can skip straight to step 7!
Three mistakes to avoid
- Avoid the temptation to step in too quickly if a mistake is made. Let the learners figure it out using their language resources.
- Make sure stronger learners don’t dominate. A barrier game is a partnership: both learners contribute equally.
- Don’t let them point! Learners love these games, but they also love “winning” by completing their boards faster than their friends in other pairs. Insist on language-only directions.
Make it harder. Laminate a game board and have learners write words using a board pen instead of placing pictures; have learners describe the words and make a rule banning them from using the words themselves (“On the green square, put the clothing we wear on our head on a cold day”); or have one learner place all of their pictures first, and the other ask questions to figure out where they need to put theirs (“Is the red ball on the slide?”). Barrier games are infinitely flexible and easy to differentiate for an entire range of learners in your class, with no extra work.